Getting Started: Creating and Running a Runbook
Transposit runbooks bring documentation and automation together, enabling teams to incrementally automate processes, with humans in the loop

The presence of runbooks is a valuable tool to keep any system operational by making sure processes are documented and codified, and not siloed. One of the challenges inherent with the process of creating these runbooks is the time and effort required for the systems engineer with the esoteric expertise needed to create them, which can be a tall order and a tedious process.
Although runbooks started as documentation guides, more recently they have much more utility in the automation space, as they can serve as blueprints to automate workflows and respond to incidents. Of course, challenges arise with automation as well, because while in theory automation can always save time, there are often instances where a hybrid-automation may be more useful, particularly in instances where a human administrator is needed to judge a situation on a case-by-case basis, or when compliance or other regulatory requirements may require human involvement. Perhaps the biggest obstacle to automating a runbook in many cases may simply be that there is not enough developer bandwidth available to develop the automation.
With all of this as context, Transposit offers its users a solution at the intersection of these challenges in the form of automated human-in-the-loop runbooks. The no-code runbook builder allows any member of a team, technical or non-technical, to put them into place. This is possible through Transposit’s no-code builder, which makes use of hundreds of pre-built actions while also allowing for custom-built, hard-coded functions as well. Regarding the issue of automation, Transposit’s no-code runbooks can be set to run automatically or to be triggered by a particular incident or situation. Automation can be added incrementally to create a hybrid human and automation approach. Four more information on best practices in runbooks, as well as different use cases and applications, read on here.
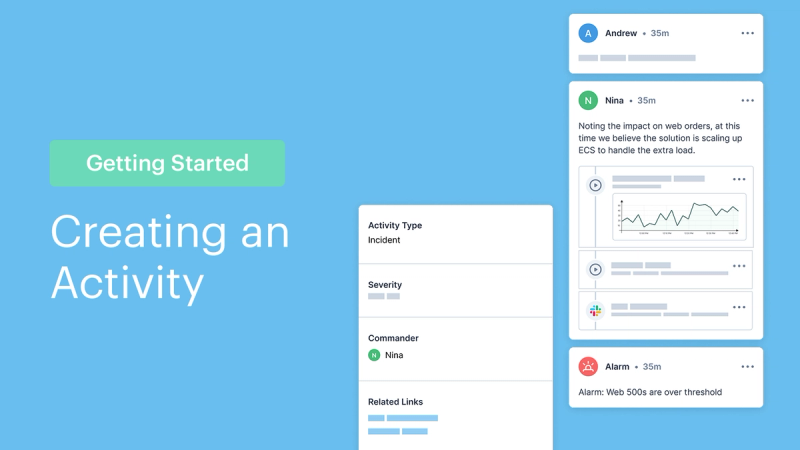
See it in action
Creating a runbook
Starting your first runbook can lay the foundation for robust systems processes, and it can be done by anyone in your team, with or without coding expertise.
Within your Transposit dashboard, click into the top tab labeled Runbooks, and then click the New runbook. You will be prompted with a dialogue box with a number of different fields for you to populate.
Begin by filling out a Title and Description.
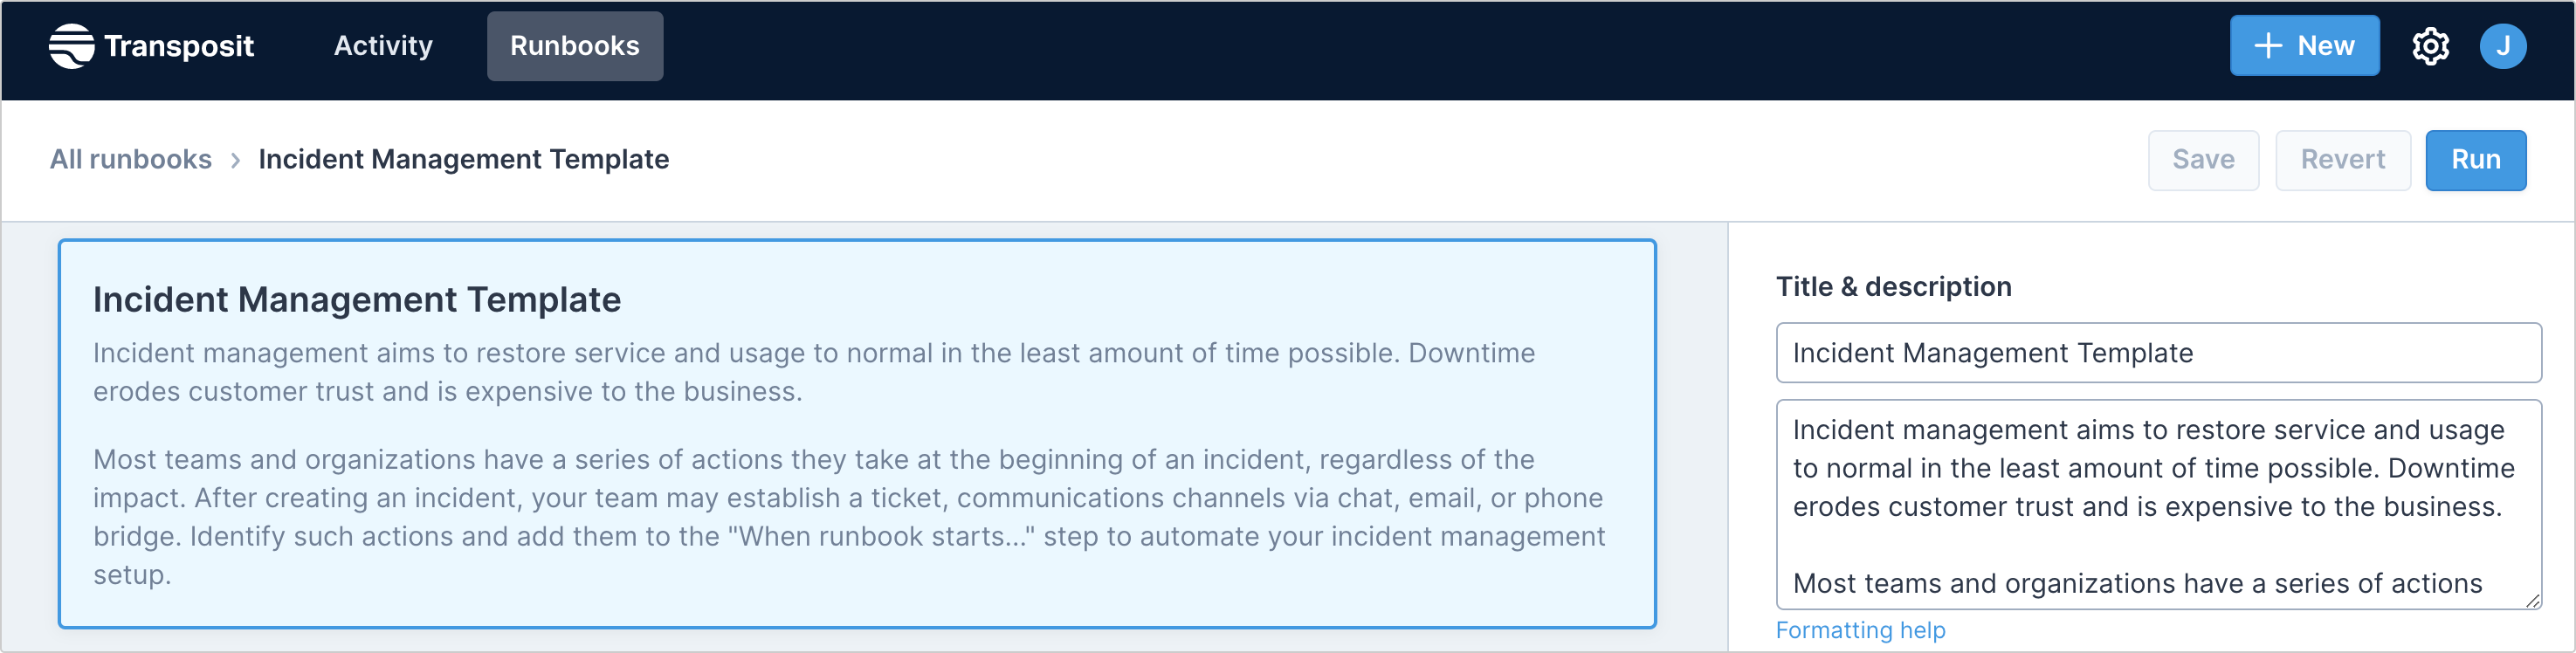
The description should be informative and colloquial to help make sure that other members of the team, or future members, are able to understand the context of what this Runbook is designed to address. You can also use Markdown, the open-source markup language, to add formatting and other elements of visual design to your Runbook.
Runbook triggers
Next, you can add in one or more Triggers by clicking + Add in the Triggers section of the window. Triggers will automatically run a runbook upon the criteria you set, like an incoming webhook event or a new activity being created.
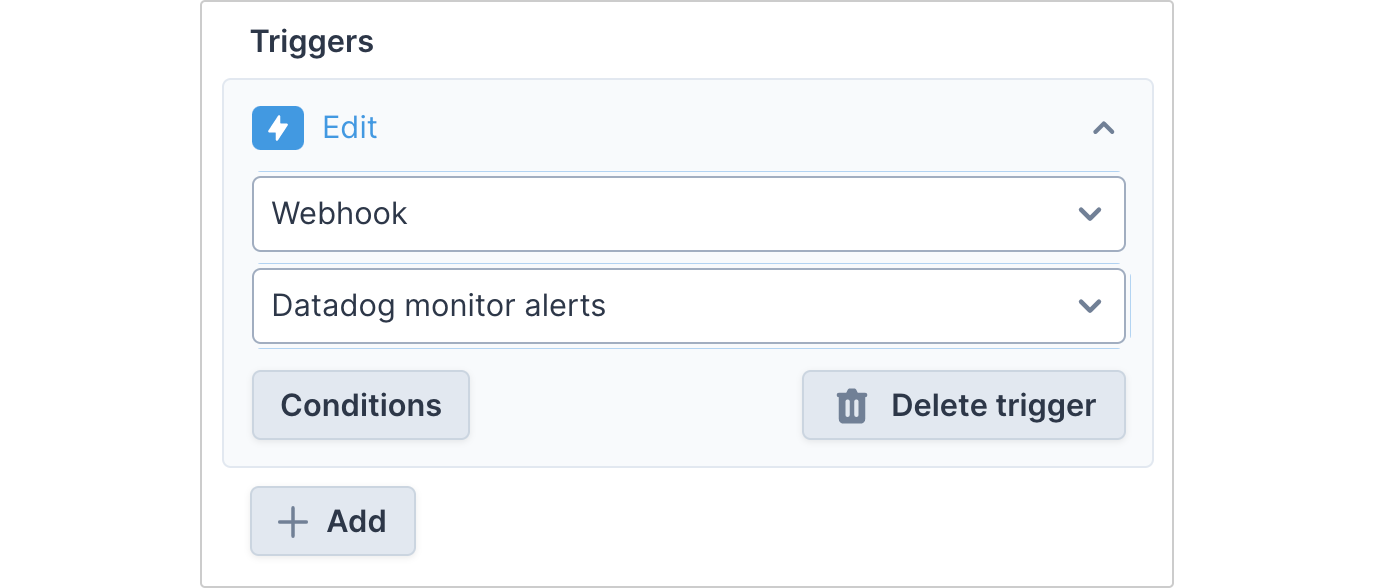
There are many options for customizing these triggers, and these are the key to building automation into your Transposit Runbook. The four basic types of Triggers, which are found under the dropdown menu, are Activity Creation, Activity Update, When a runbook’s state changes, and Webhooks (which will only be available for selection if you have already configured a Webhook). Depending on which type of Trigger you select, there are numerous different detailed types of customizations for you to add-in.
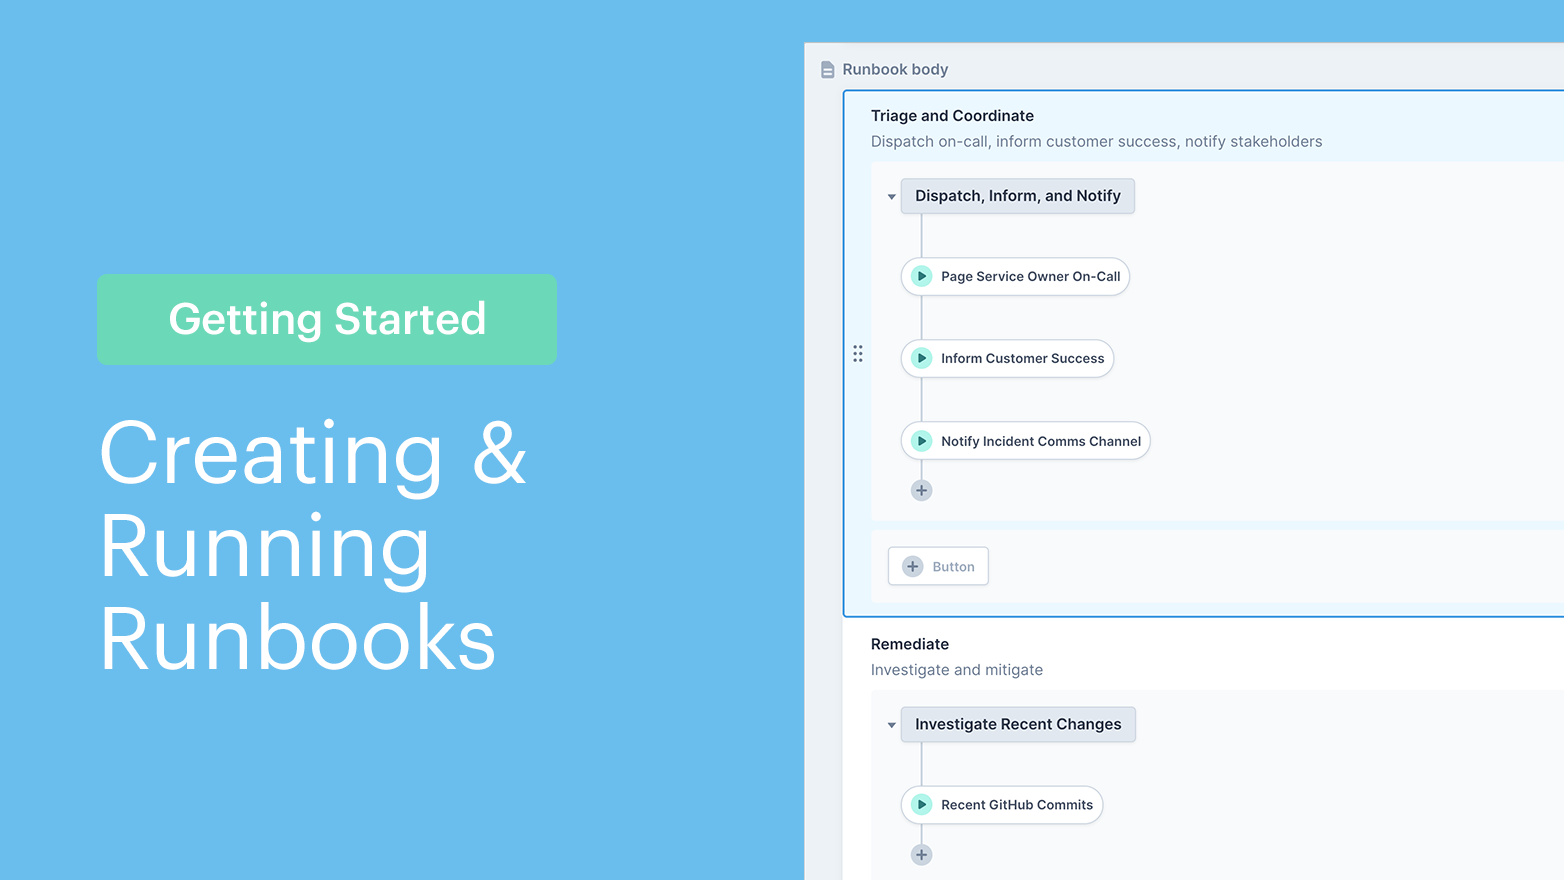
Runbook sections
Now let’s start adding to the runbook sections. Each section has a different purpose and level of automation and human involvement. These are divided into different sections, each of which corresponds to a different runbook state.
- When a runbook starts: Actions added here will automatically execute once a runbook is run. This is great for repetitive, predictable tasks that happen every time you run this process.
- Runbook body: This section focuses on human-in-the-loop automation. Users can add actions under buttons, which can be executed by a human. This enables operators to use judgment to decide what steps to take next. Under a button, users can add one or more actions. By chaining actions together, the actions will run consecutively — with just a single click.
- When runbook is Done: Actions added here will be automatically executed when the runbook state has been changed to done.
- When runbook is Error: Actions added here will be automatically executed when the runbook state has been changed to error. When adding actions to your runbook, you can check a box to “set the runbook state to error” anytime the action was not properly executed.
The most important factor for configuring your runbook actions is the runbook body section. This is the field where protocols and processes can be built out to incorporate both human decisions and actions as well as automated processes. This is fully customizable, meaning that you can build in the subheadings and sections necessary to make your runbook organized and codified for all parties.
Common sections may be things like classify, investigate, remediation, reporting, and many more similar items for subordinating and subdividing tasks. The idea is that any time one of these runbooks comes into play, all of the stakeholders can look to it as a playbook for what to do, and they can know actions to take and decisions to make in order to execute their responsibilities.
Learn more about creating runbooks.
Runbook actions, activity field binding, and conditions
Each of these sections can be configured by placing your cursor the + button and selecting either Run action, Set activity field, or Add condition. Each will open a separate dialogue box with a large bank of options for automations or fields, respectively.
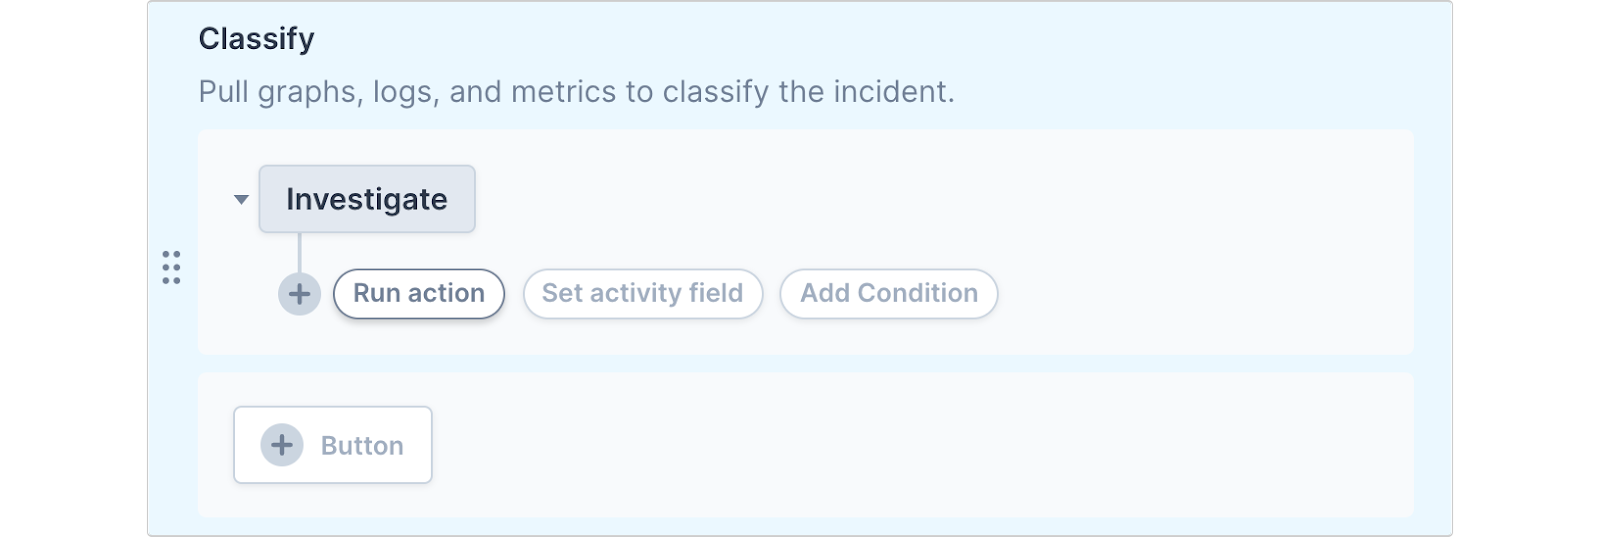
- Run action: Use this button to add actions that connect to your tools and services. See all our available actions. You can also create new actions in our Developer Platform.
- Set activity field: Here you can take the output of a previous action (like the URL from a Create Jira Issue action) and pipe it into an activity field (like Related Links).
- Add condition: Here you can create “if this, then that” conditions for further actions to run based on the output of a previous action.
Learn more about adding actions, setting activity fields, and adding conditions.
Running your runbook
Once you have created the runbook and set up all of its triggers and actions, it is ready to run. If you have set up triggers to make it run automatically, the next time one of these events takes place, your runbook will run. If you have not set triggers, you can browse runbooks from within any activity and run them. You can also run a runbook right from the runbooks page or runbook builder and later link it to an activity.
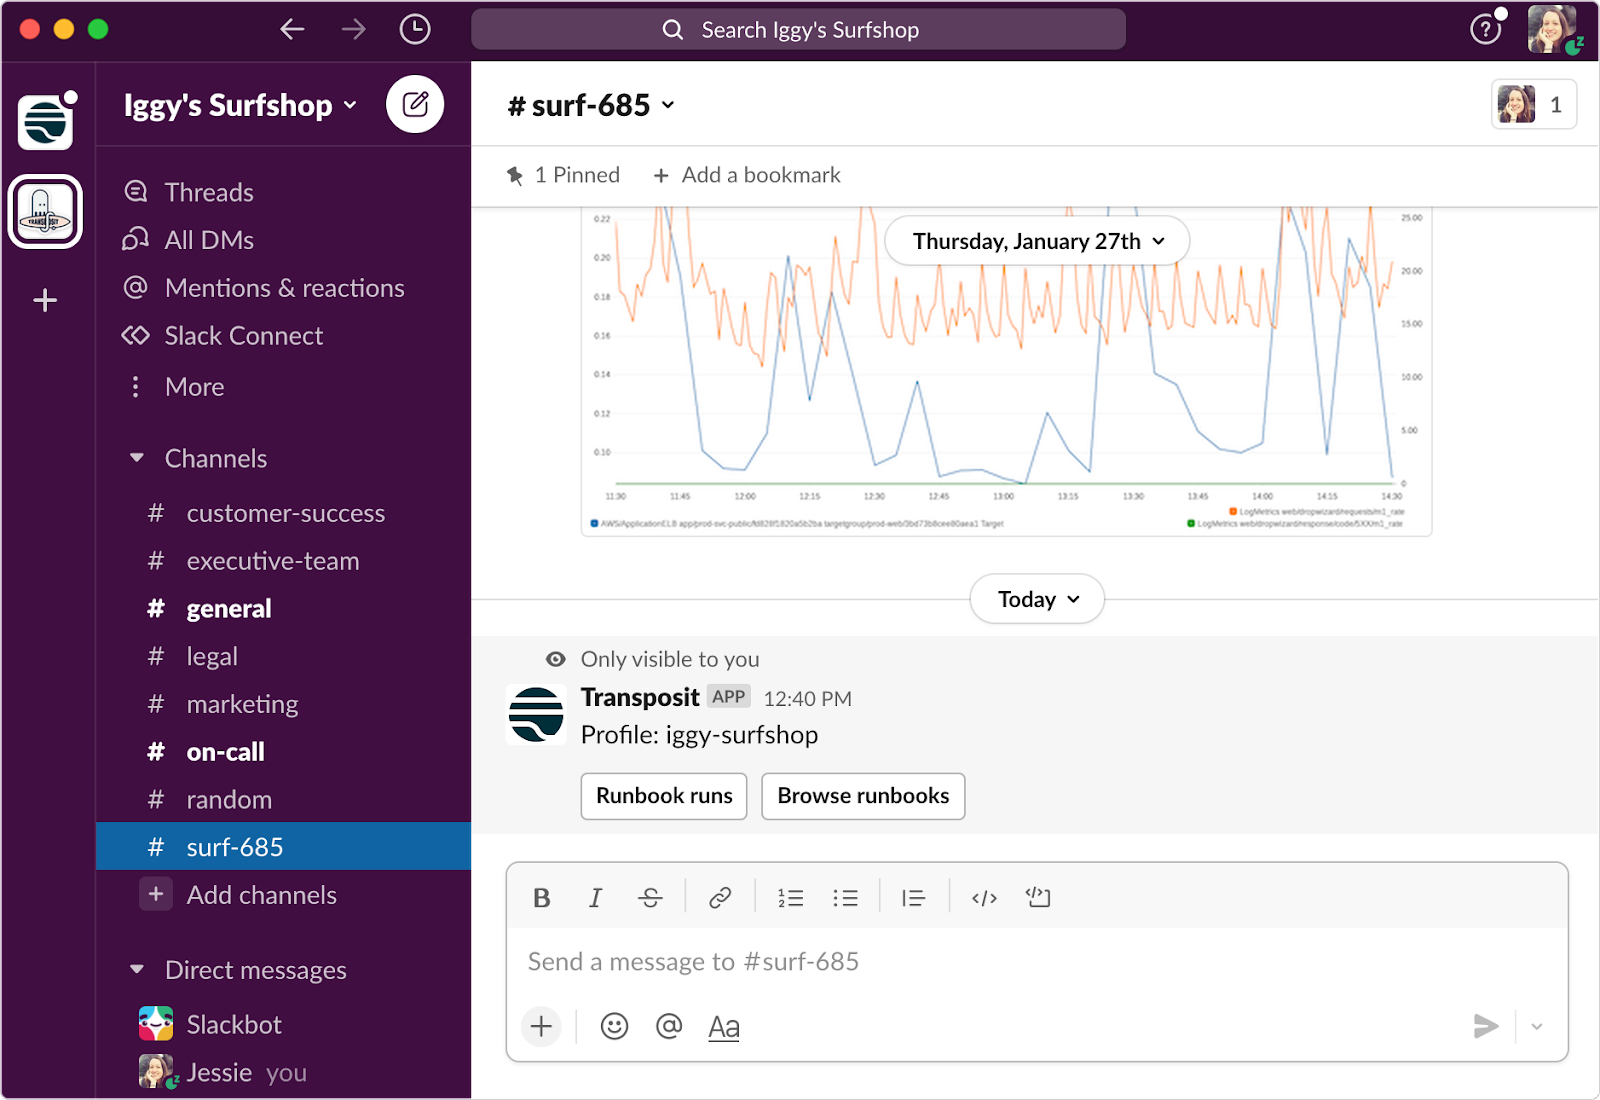
If you have already synced your Slack to Transposit, you can find your runbook and enter the command /transposit and click Runbook runs to pull up one or more runbooks that are currently running or Browse runbooks to run a new one.
Any time your runbook is in progress, you may track its progress by following the timeline within the Transposit dashboard. Depending on how you have configured it, automated actions will take place on their own, or you will have buttons available so users can manually mark processes as completed.