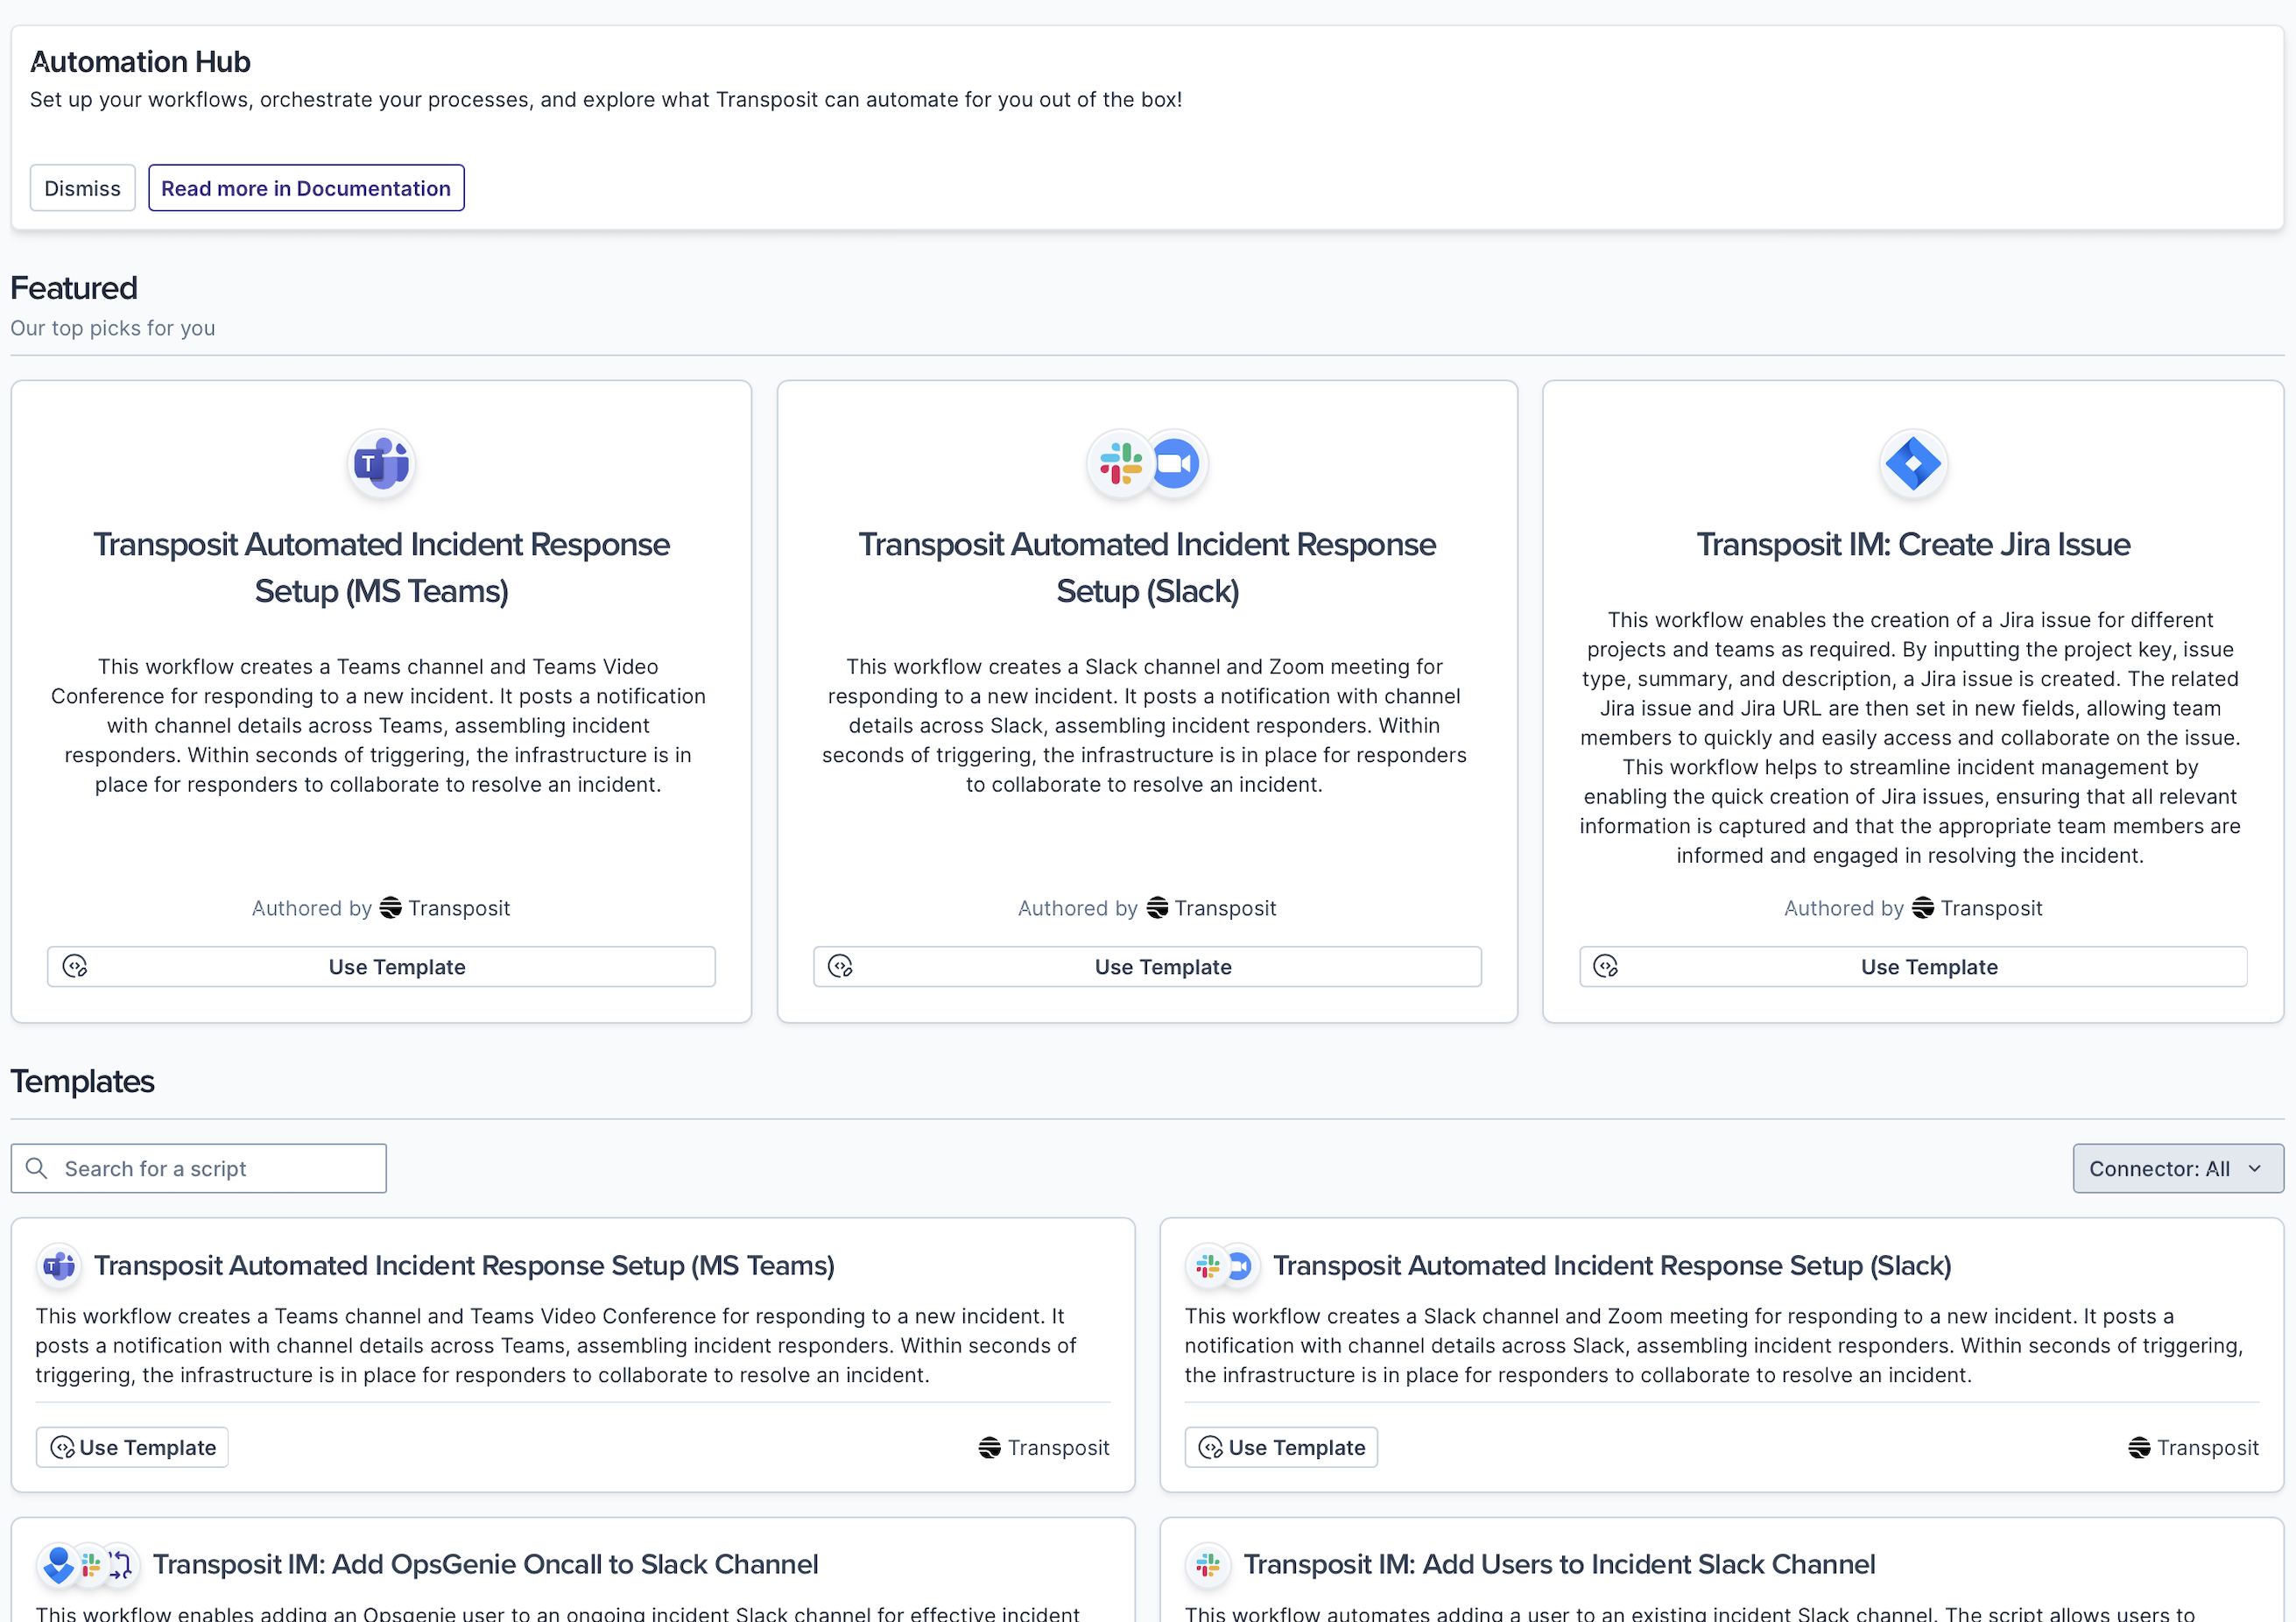
In the Transposit Automation Hub, you'll find a collection of automation templates ready to be inserted into your team's incident types.
Simply point and click to automate interaction with Slack, Teams, Jira, or combinations of all the other integrations Transposit makes available to you.
Getting started configuring Transposit means selecting templates, authenticating their integrations, and adding them to the incident types that are made available to your team's incident responders.
Overview
Watch this quick screencast for an overview of the steps you'll take below.
Select a Template
In the navigation bar on the left, go to Automation Hub, select Explore Templates, and find an automation relevant to your team's incident resolution needs.
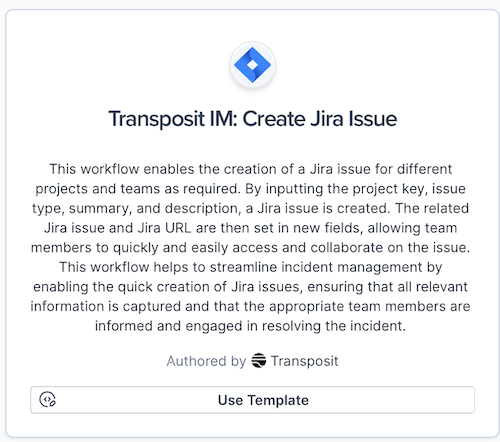
To get started using a template, click Use Template. For example, click Use Template on the Transposit IM: Create Jira Issue template.
The template opens in the Script Editor so that you can customize it. For example, in the Integrations section, authenticate the integrations for your automation.
At the end of the page, click Save.
The template is added to your team's automations in the Automation Hub under My Scripts.
Test the Automation
Now that you've added an automation to your team's Automation Hub, let's try it out.
In the navigation bar on the left, go to Automation Hub, select My Scripts, and click Test for your automation.

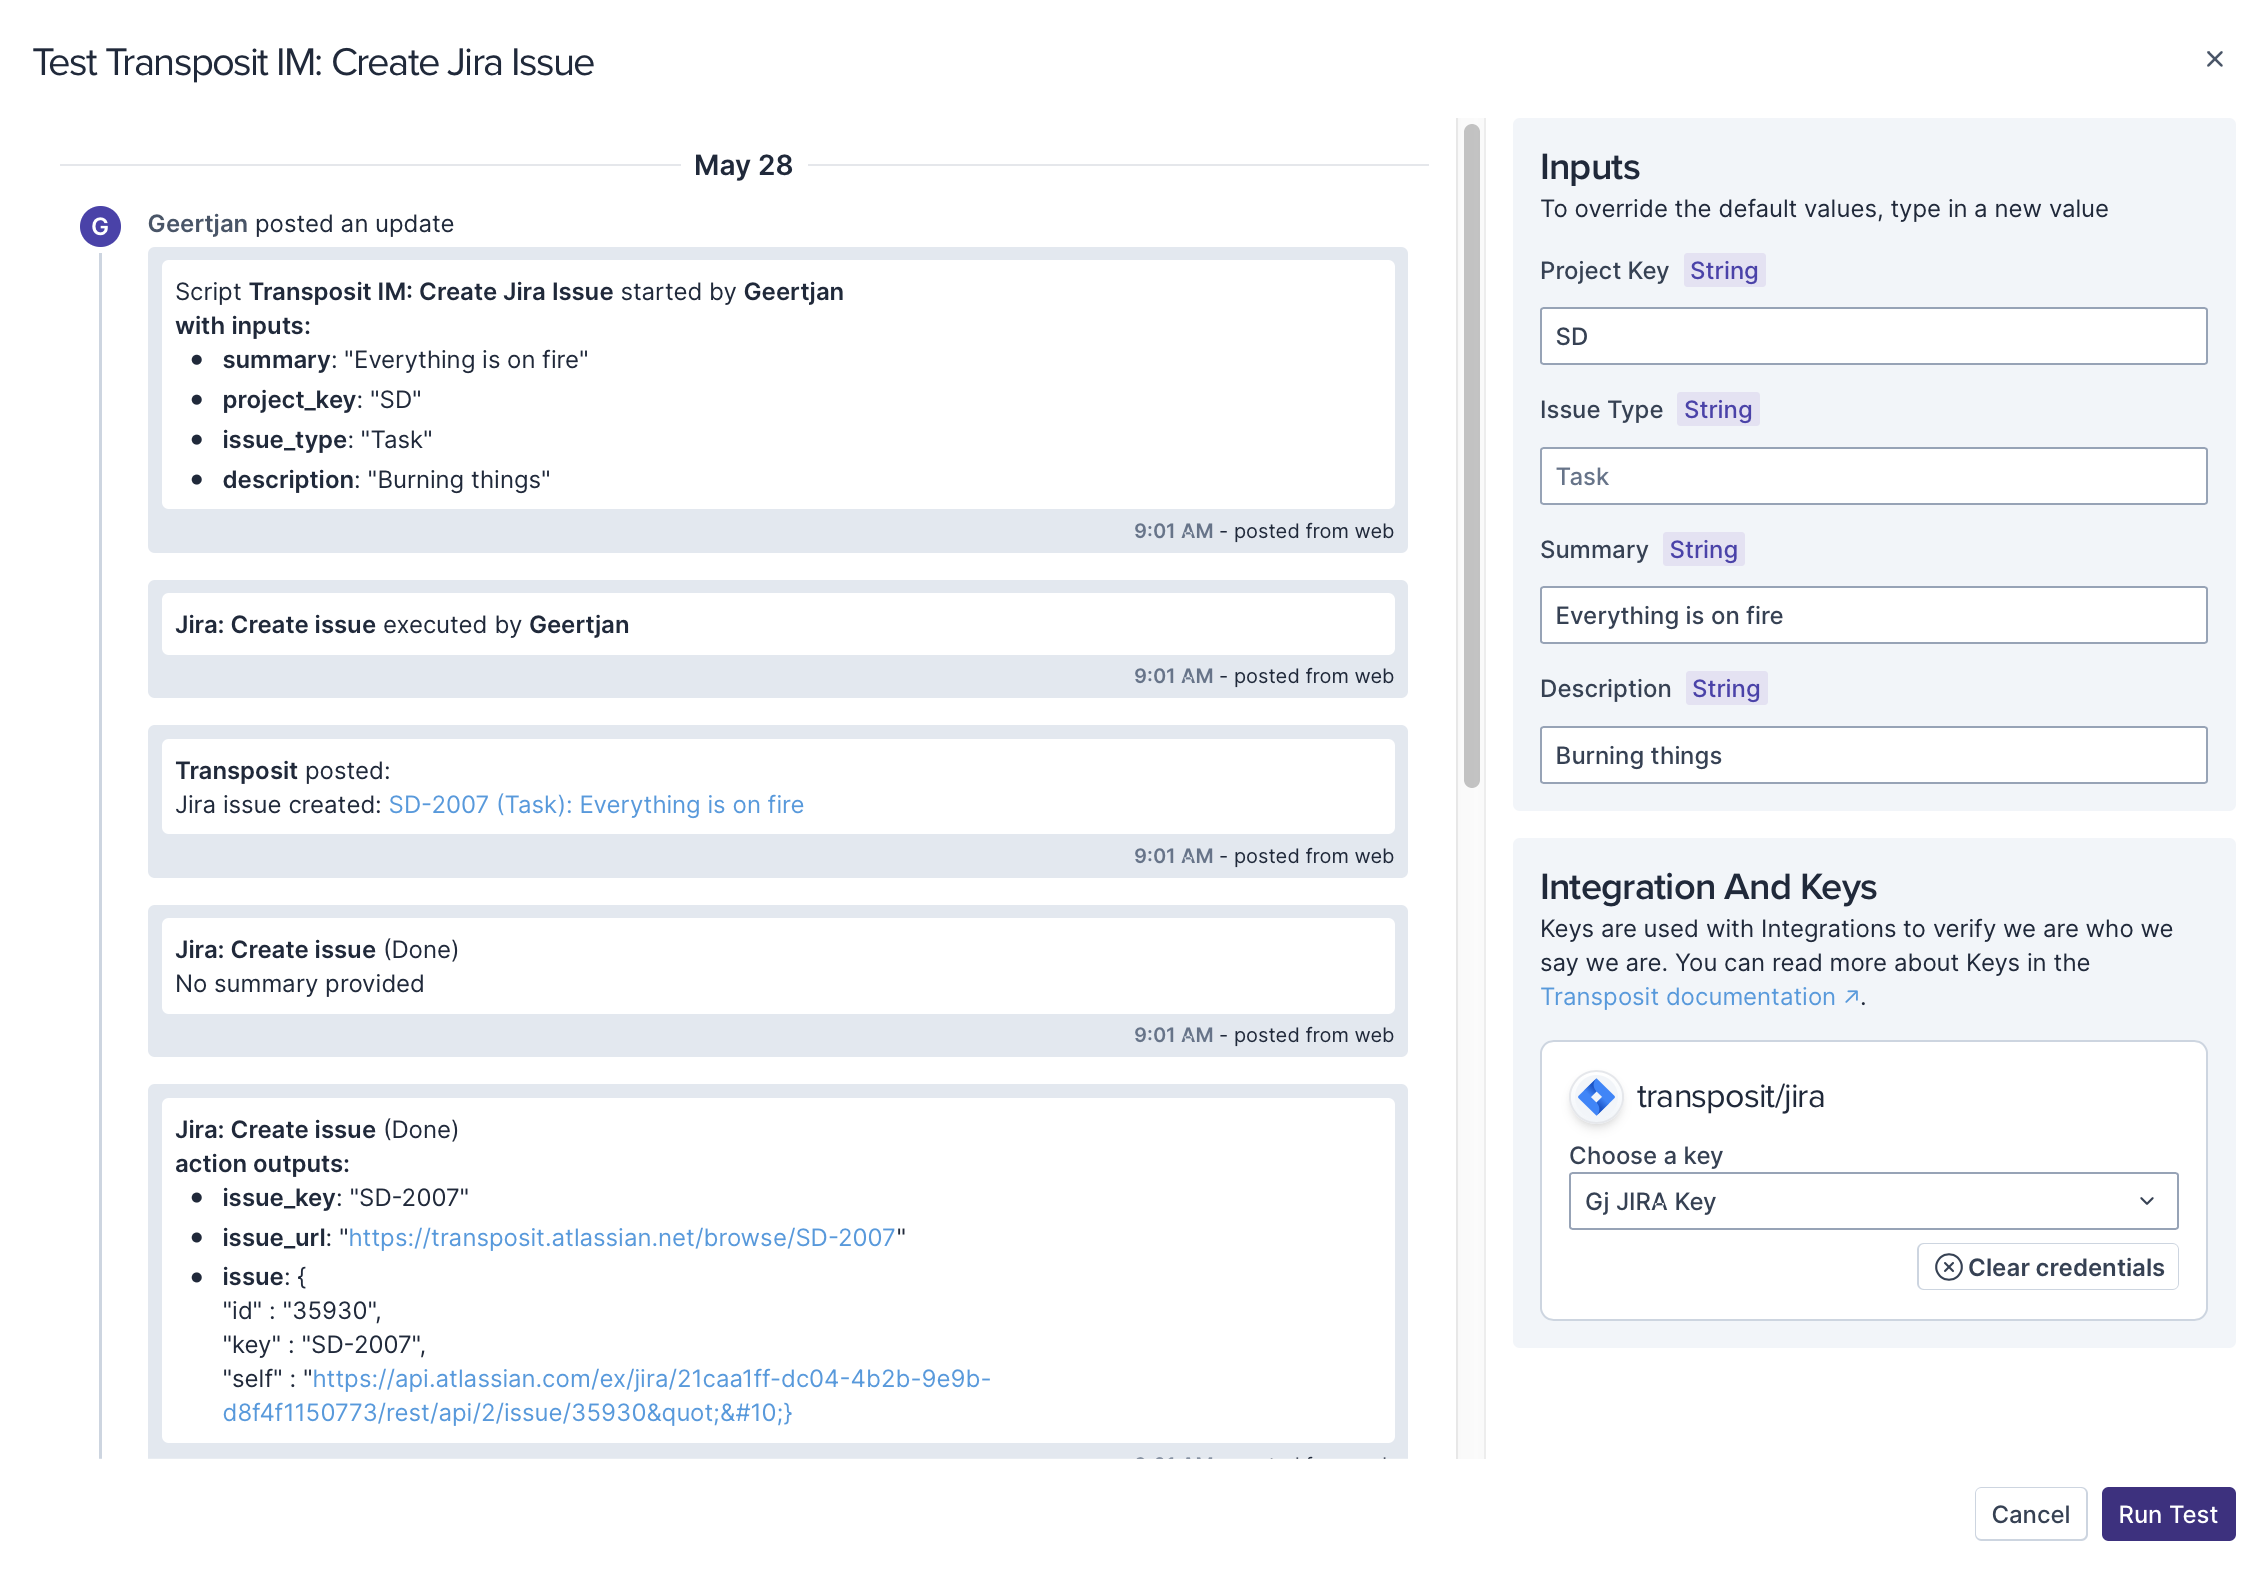
In the Test dialog, provide the integration's input values and authentication settings.
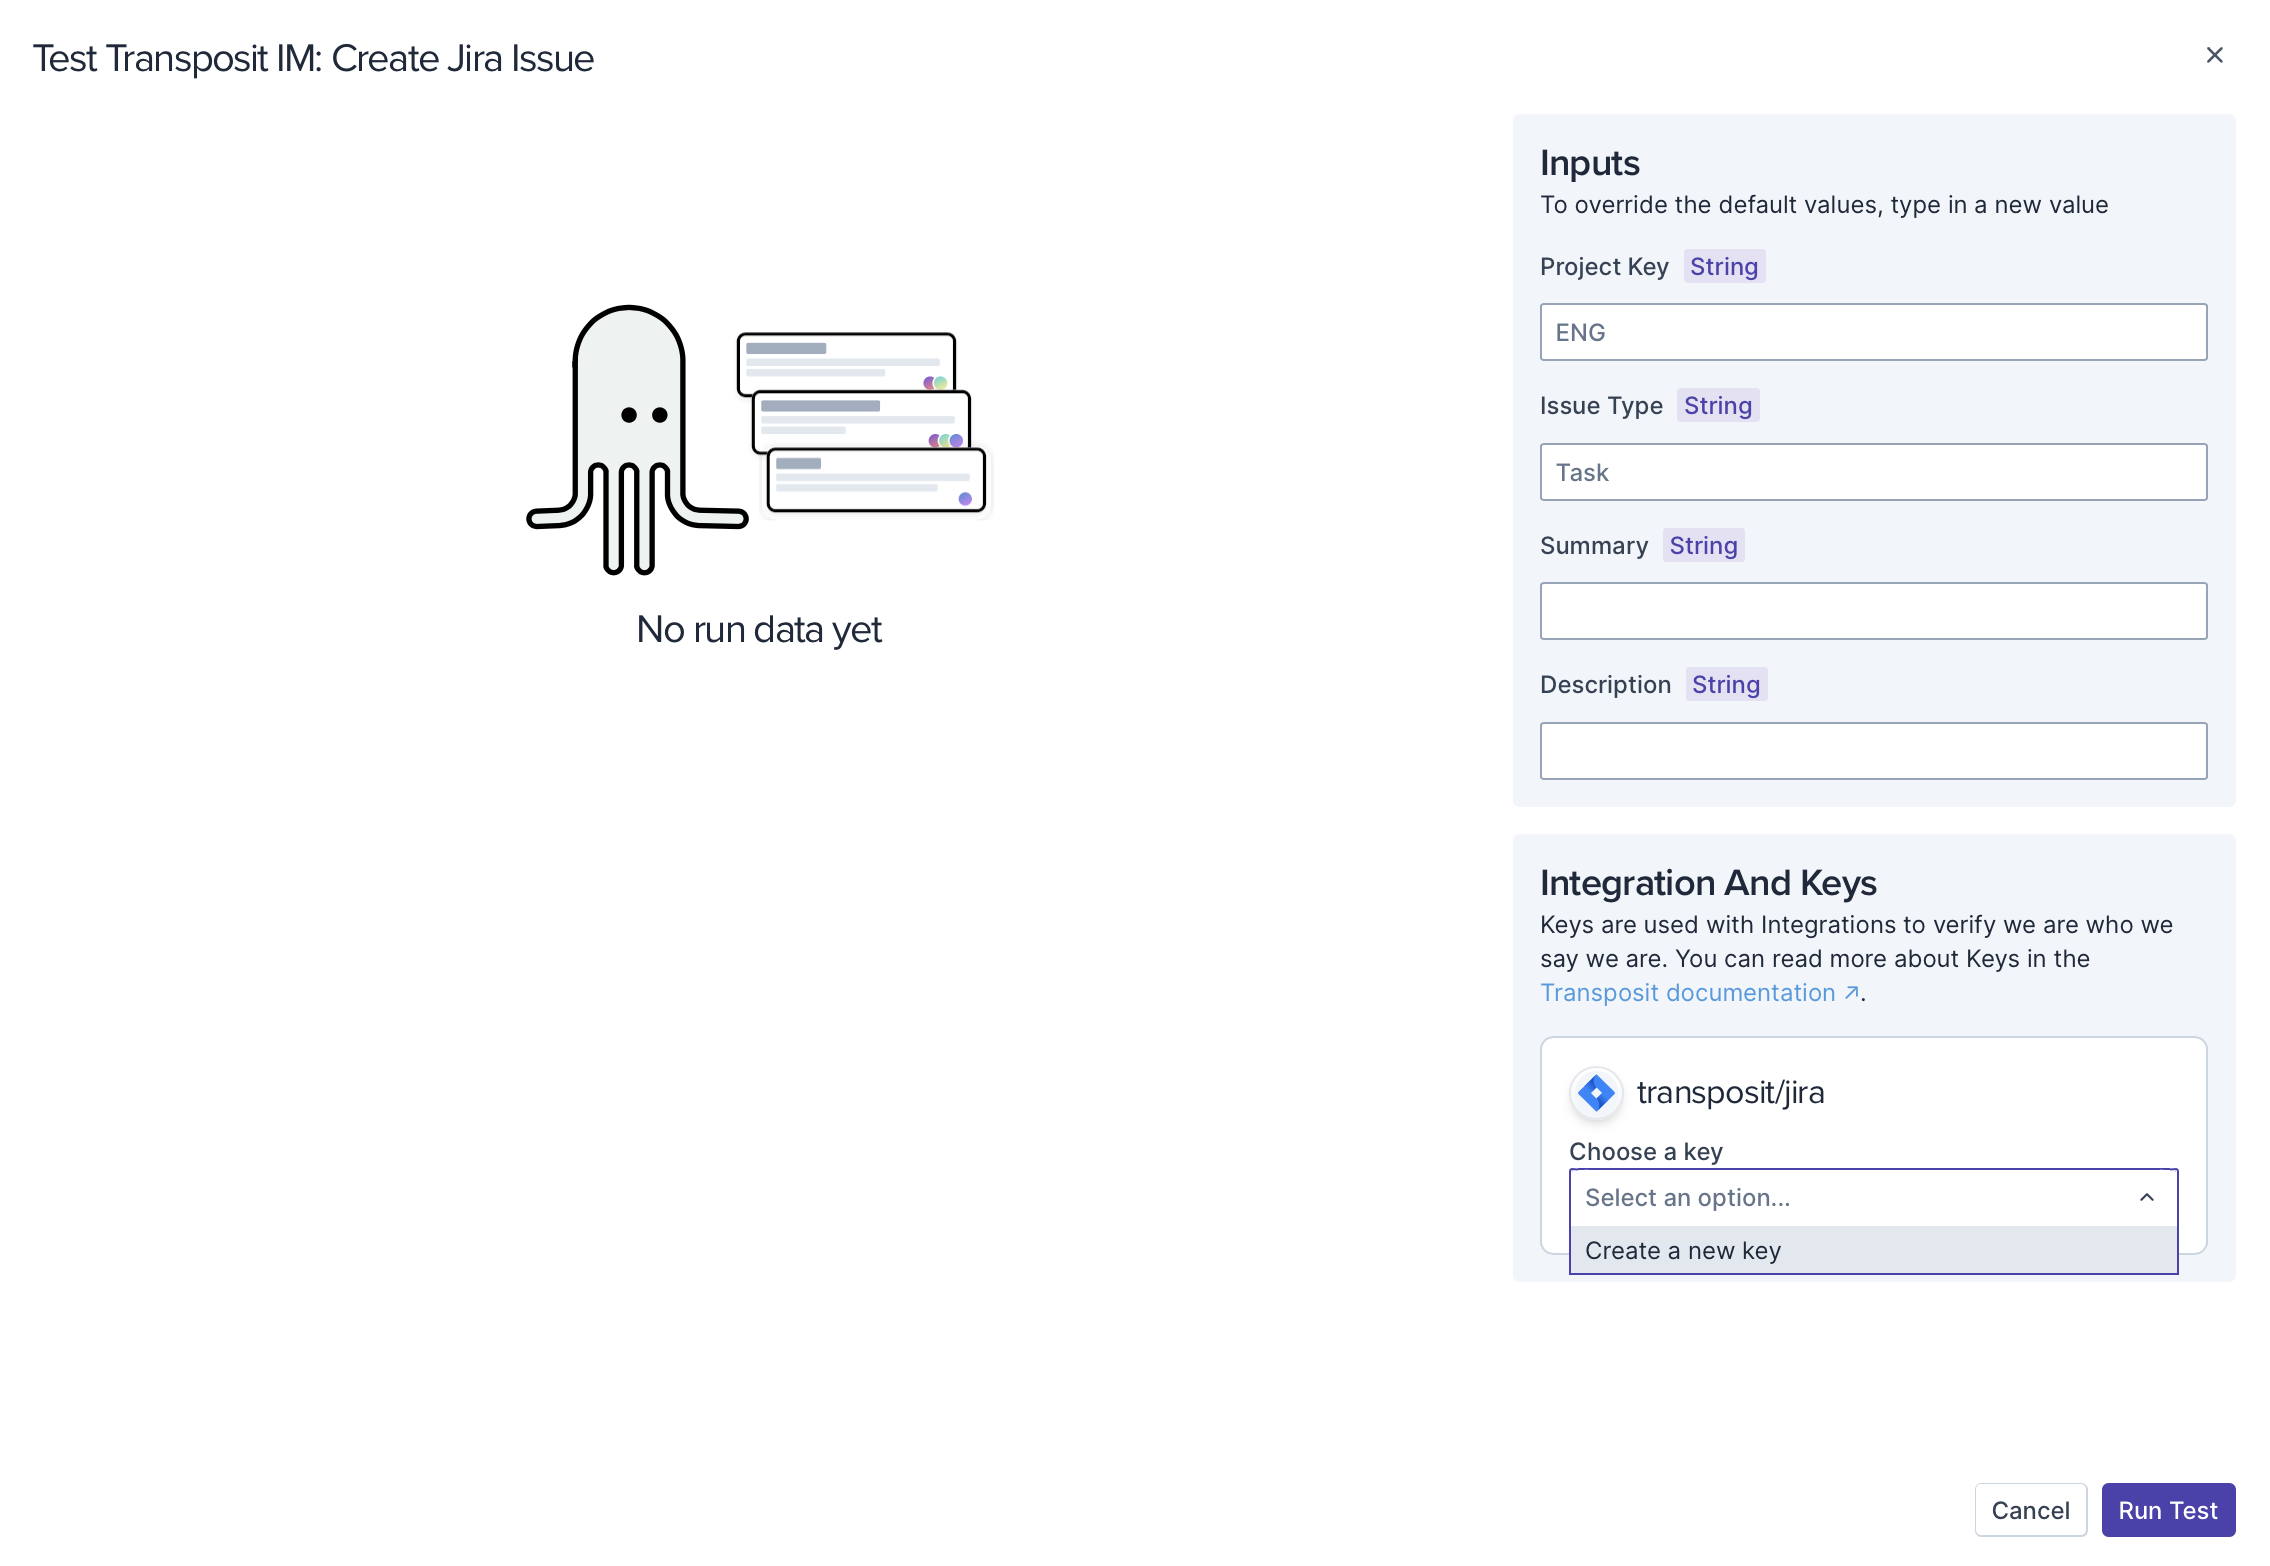
Click Run Test to run the test and see its output in the Test dialog.
Use the Automation
You've selected an automation and tested it to verify that it works in your environment.
Let's now add it to an incident type so that your team's incident responders can use it.
In the navigation bar on the left, go to Settings > Incident Types.
Click Edit Type to add the automation to an existing incident type or click New Incident Type to create a new incident type from scratch.
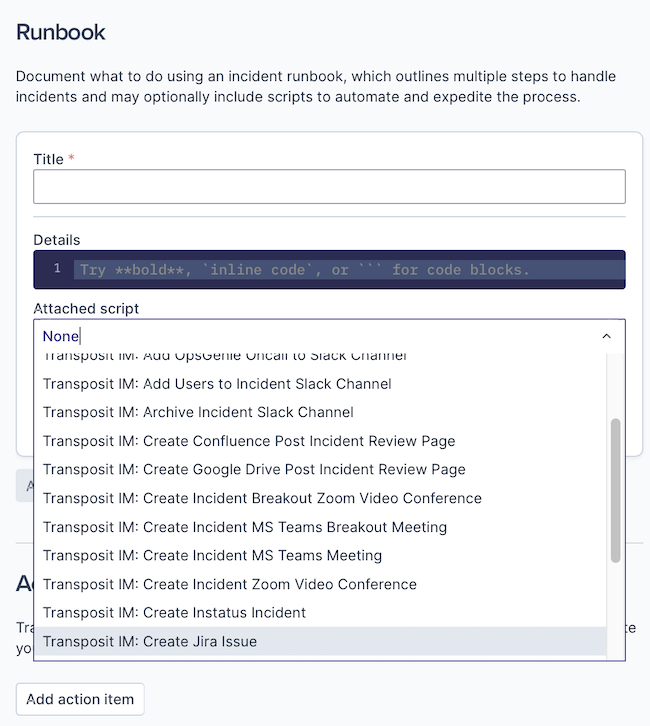
The Incident Type Editor opens. Scroll down to the Runbooks section, click Add a step, enter a title and description, and select your automation from the Attached script drop-down list.
Click Save.
Wrap Up
When a member of your team creates a new incident from the incident type as defined above, a step is included in the incident's runbook in the form of a button which, when clicked, runs the automation.
Next Steps
- Extend your automations with custom workflows. Go back to the Automation Hub to build out the library of automations to be added to your incident types.
- Enhance your automations with AI. Transposit makes it easier for incident responders to do their work by simplifying automation via built-in support for OpenAI. No need to know the underlying APIs to external tools and services, simply type the information you need and the API calls are generated for you.
- Integrate more of your team's Cloud services. While you're reusing and creating automations, you'll be integrating with external services and applications, including authenticating to them.
- Further define and customize your team's incident types. Once you have some new automations, continue to extend the list of incident types that may already be available, so that your team has starting points for their incidents, tailored to their specific needs.
- Begin setting up and integrating your team's webhooks. Register webhooks in your external services and applications so that their alerts can be received in Transposit. In some cases, you may want incidents to automatically be created as soon as an alert is received.