When you add an action to an automation, you can define it so that it can interact with external variables as inputs.
Understanding and working with inputs is described below.
A related and alternative approach is to create a dialog so that the user can provide input. For details, see Adding User Input.
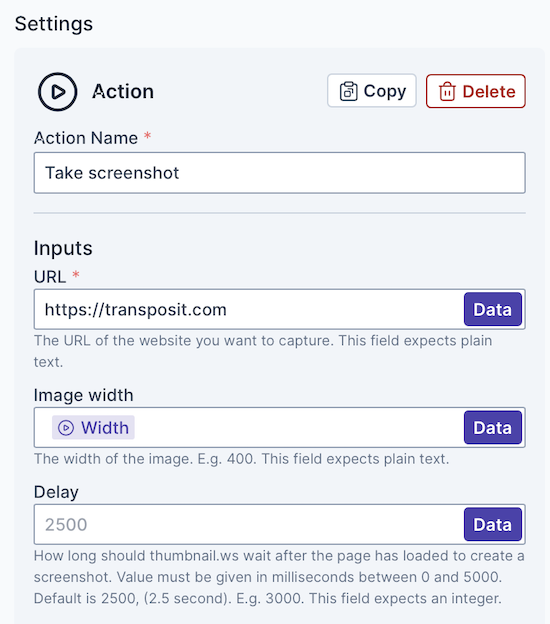
In the action's Settings panel to the right of the Main Workflow section, view the inputs applicable to the selected action.
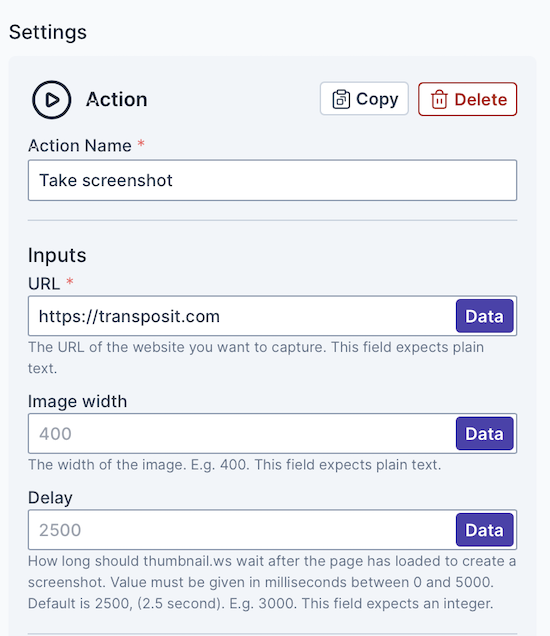
Below the Settings panel, notice the Inputs section, which is where the exterior variables that your automation will interact with are listed. As below, the list may be empty initially.

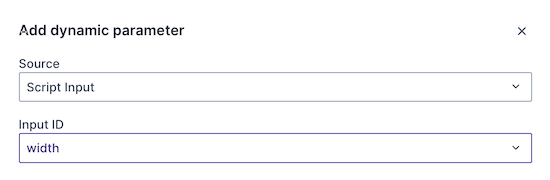
In the Inputs section, click Add Input. The New Input dialog opens.
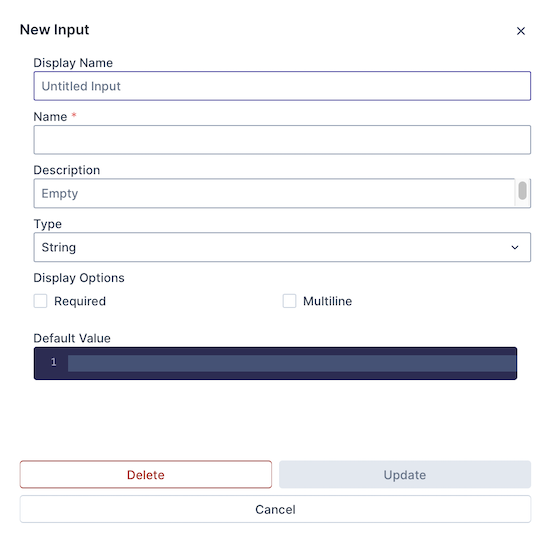
Define the input. For example, define an input named width, with an applicable description and a type, as well as whether it is required by the action.
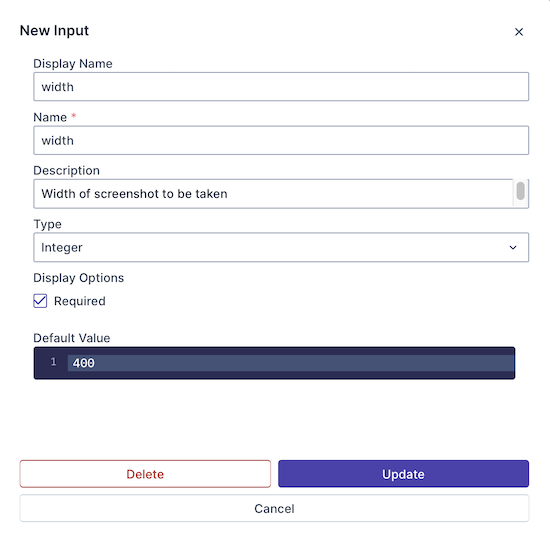
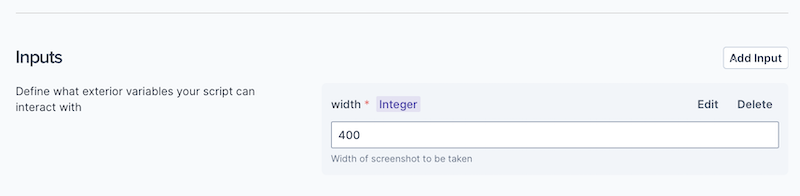
Click Update. A new input named width is now available to be used in your workflow. Optionally, add a default value, such as 400, below.
Next to one of your properties in the Settings panel, such as the Image width field in the first screenshot above, click Data. In the Source drop-down list, choose Script Input and in the Input ID field, choose the input field defined above, such as width.
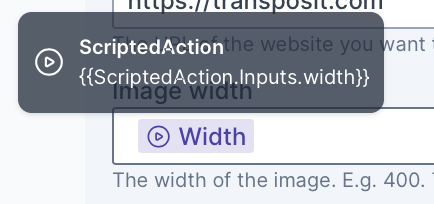
Notice that the field in your workflow is now populated by a variable.
When you hover over the variable, notice the underlying syntax of the variable.
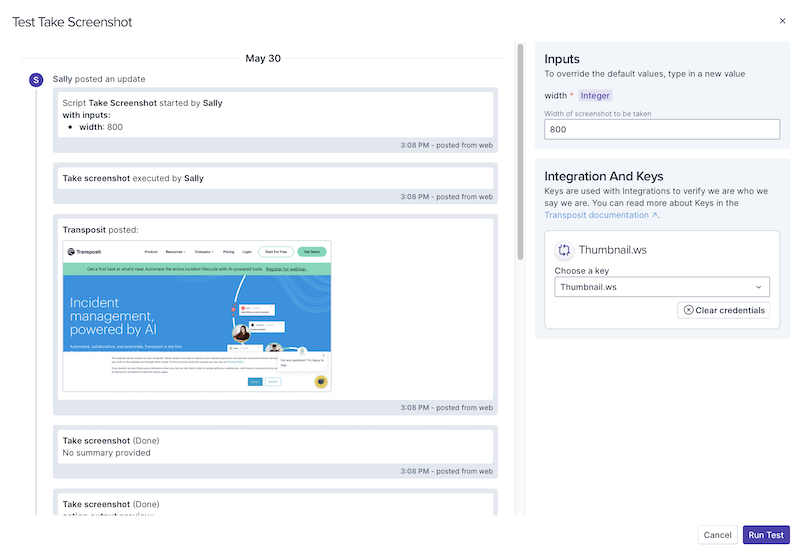
Now when you test the automation or run the automation, you can provide an input, as shown below for the test scenario.
Continue creating your action and continue creating your automation to which the action belongs.
The inputs defined in the script's Inputs section will now be set in the other scripts in which the script will be embedded.